
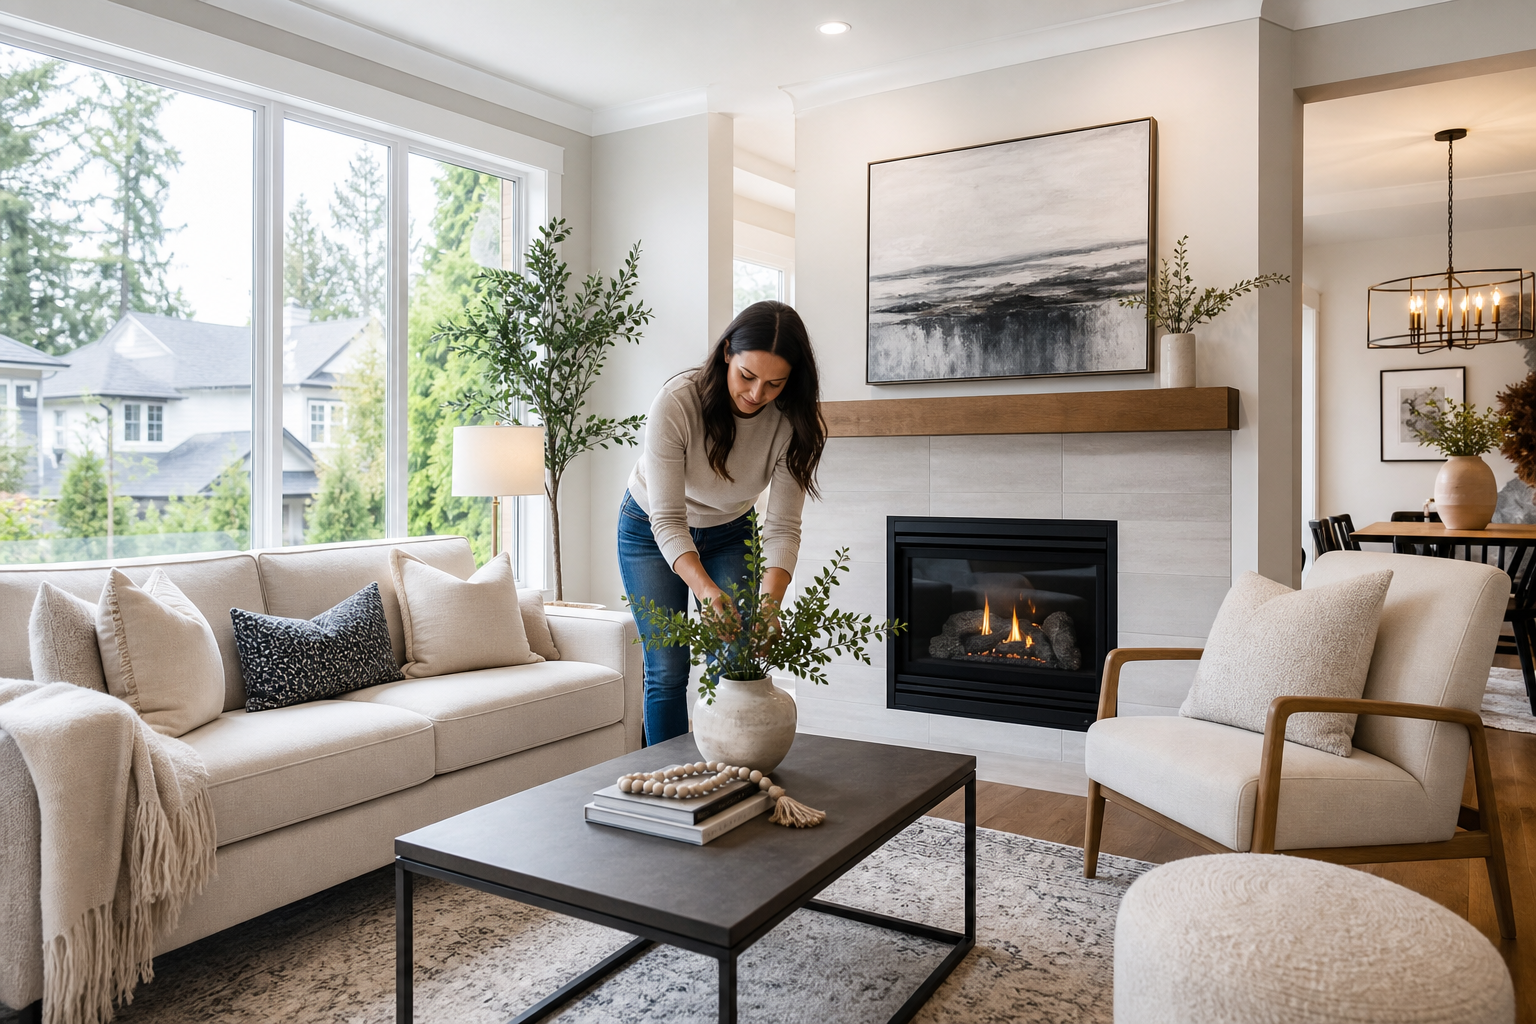
How to use these 7 staging tips and the order of operations
If you are searching for selling a home staging tips that actually move a listing in Surrey, this article gives seven prioritised actions you can implement yourself or delegate. The list is ordered to deliver the fastest impact: prepare photos first, fix curb appeal, then stage the rooms buyers care about most. Use the planner below to decide which tasks you do this weekend and which you book out to a contractor or stager.
Room-by-room priority checklist
- Entry and curb: first impressions matter.
- Living room and main photos: where buyers form an emotional impression.
- Kitchen and bathrooms: perceived value and return on small investments.
- Primary bedroom: sell the lifestyle and storage.
- Secondary rooms and storage: show purpose and usable space.
1. Plan a photo-first presentation: prepare the home for listing photos and virtual tours
Most buyers meet your listing first online, so prioritise how rooms read in photos and virtual tours. That means clearing countertops, opening curtains to maximise natural light, arranging furniture for clear sight lines, and creating a single, tasteful focal point in each room. Trusted real-estate guidance stresses the importance of listing photos to attract viewings and offers, so plan for either a professional photographer or a staged DIY shoot with steady shots and wide angles.
For quick execution, photograph rooms the same way you expect the photographer to shoot them: tidy, with walkways clear and the camera at eye height. If you use a photographer, prepare a short shot list so the main spaces and curb appeal are covered on arrival.
Redfin photo-first staging tips • Zolo staging guide
2. Boost curb appeal and the entry: quick fixes that change first impressions
First impressions start at the sidewalk. Seasonal, low-cost curb updates often produce outsized returns: pressure wash sidewalks and siding, sweep and edge garden beds, plant a few season-appropriate pots, replace or clean the welcome mat, and ensure house numbers and mailbox look tidy. Buyers form an opinion before they step inside, and listing photos that include a clean, welcoming exterior encourage viewings.
If outdoor maintenance needs more than a day, prioritise tasks that show in photos and at the front door. For a short checklist and tactical suggestions tailored to quick sales, consult seller-focused staging guides.
REW quick curb and staging tips • Square One staging checklist
3. Declutter, depersonalize and define each room’s purpose
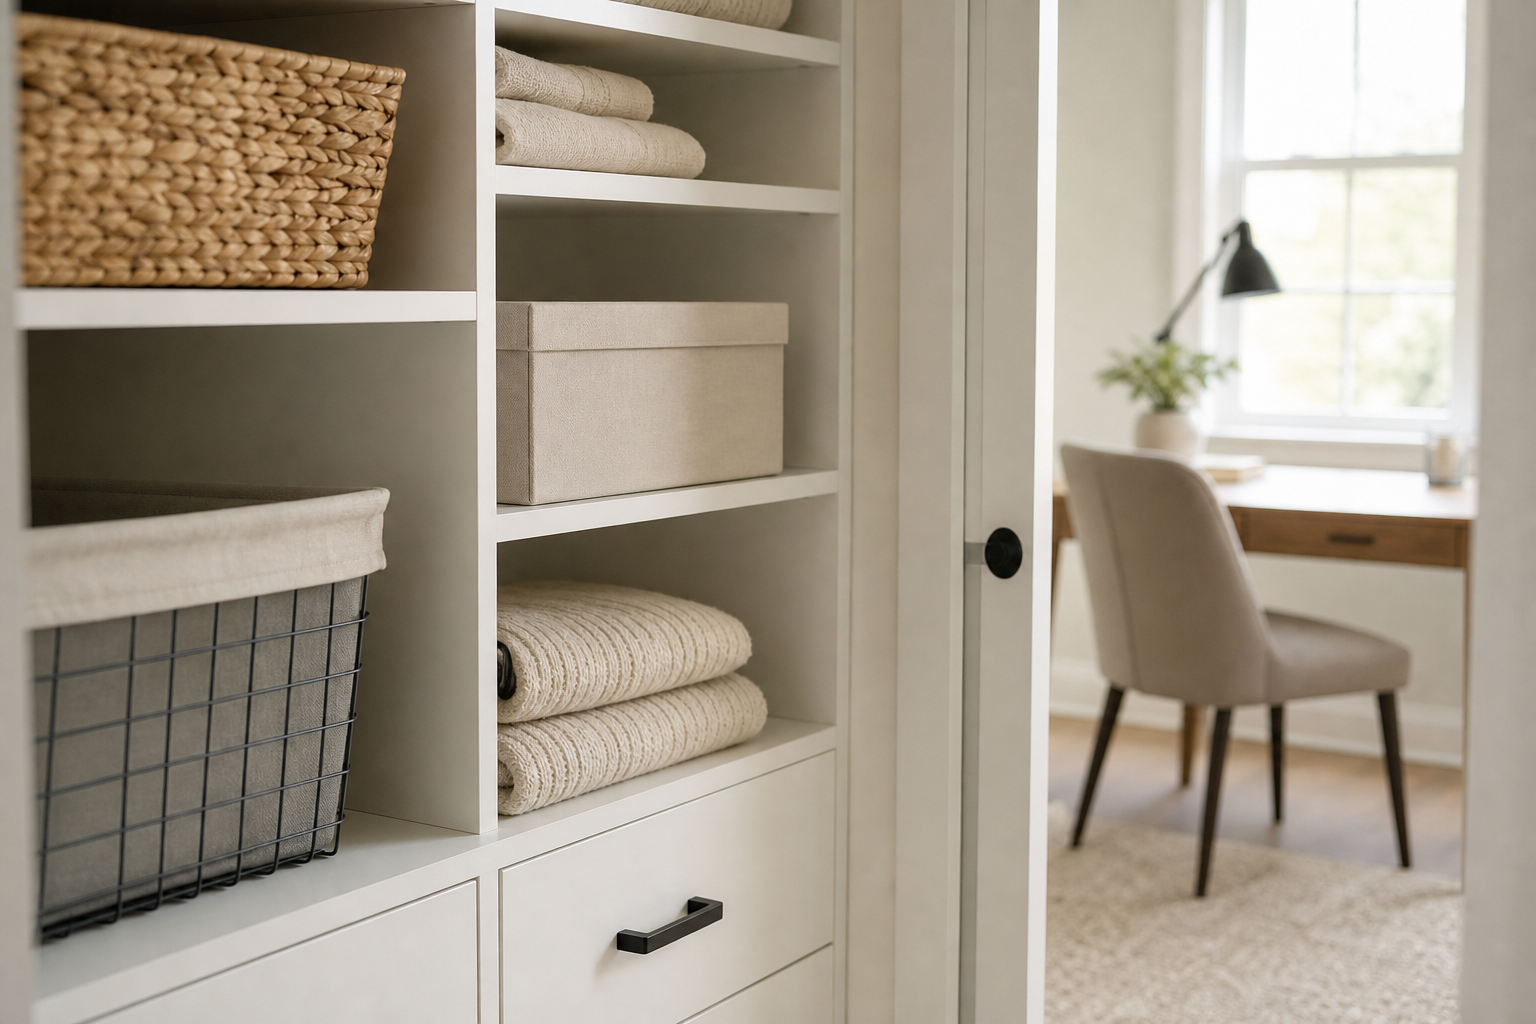
Clear visual space helps buyers imagine themselves living in your home. Remove excess furniture, pack nonessential personal items, and store surplus belongings out of sight. Keep surfaces sparse and add neutral accessories that reinforce each room’s function. Staging authorities recommend creating a clear purpose for each room so buyers are not distracted by mixed uses or cluttered areas; focus on storage solutions and visible floor space to highlight square footage.
Depersonalizing does not mean sterile: retain a few warm touches such as a single vase, a neutral throw, and edited artwork. For implementation steps and room-purpose guidance, review practical staging instructions designed for Canadian sellers.
Wahi room-purpose staging guidance • Square One staging tips
4. Stage the kitchen and bathrooms for perceived value
Buyers often judge a property by the kitchen and baths. Small, visible upgrades can increase perceived value: clear countertops of small appliances, replace stained towels and bathmats with fresh neutral linens, polish faucets and hardware, and re-caulk where discoloration appears. Photograph the kitchen with counters mostly clear and a small, tasteful bowl or plant as a focal point.
Reserve contractor work for items that affect inspection outcomes or listing eligibility, such as persistent water damage or failing ventilation. Cosmetic fixes typically deliver the best return for modest budgets.
Wahi kitchen and bath staging • Zolo staging guide
5. Stage living spaces and the primary bedroom to sell the lifestyle
These rooms sell the lifestyle buyers want. Arrange seating to create conversational groupings and sight lines to focal features like a fireplace or a view. Use layered, neutral bedding, remove excess throw pillows, and add one statement artwork or mirror to open the space. In condos and townhomes with limited square footage, use scaled furniture and visible storage to demonstrate usable living space.
Keep palettes neutral and accessories edited so photographs and walkthroughs feel inviting. Stage a small reading nook or workspace only when it enhances perceived function rather than cluttering the room.
This Old House staging advice • Square One practical tips
6. Improve lighting, neutral finishes and quick repairs that show up in photos
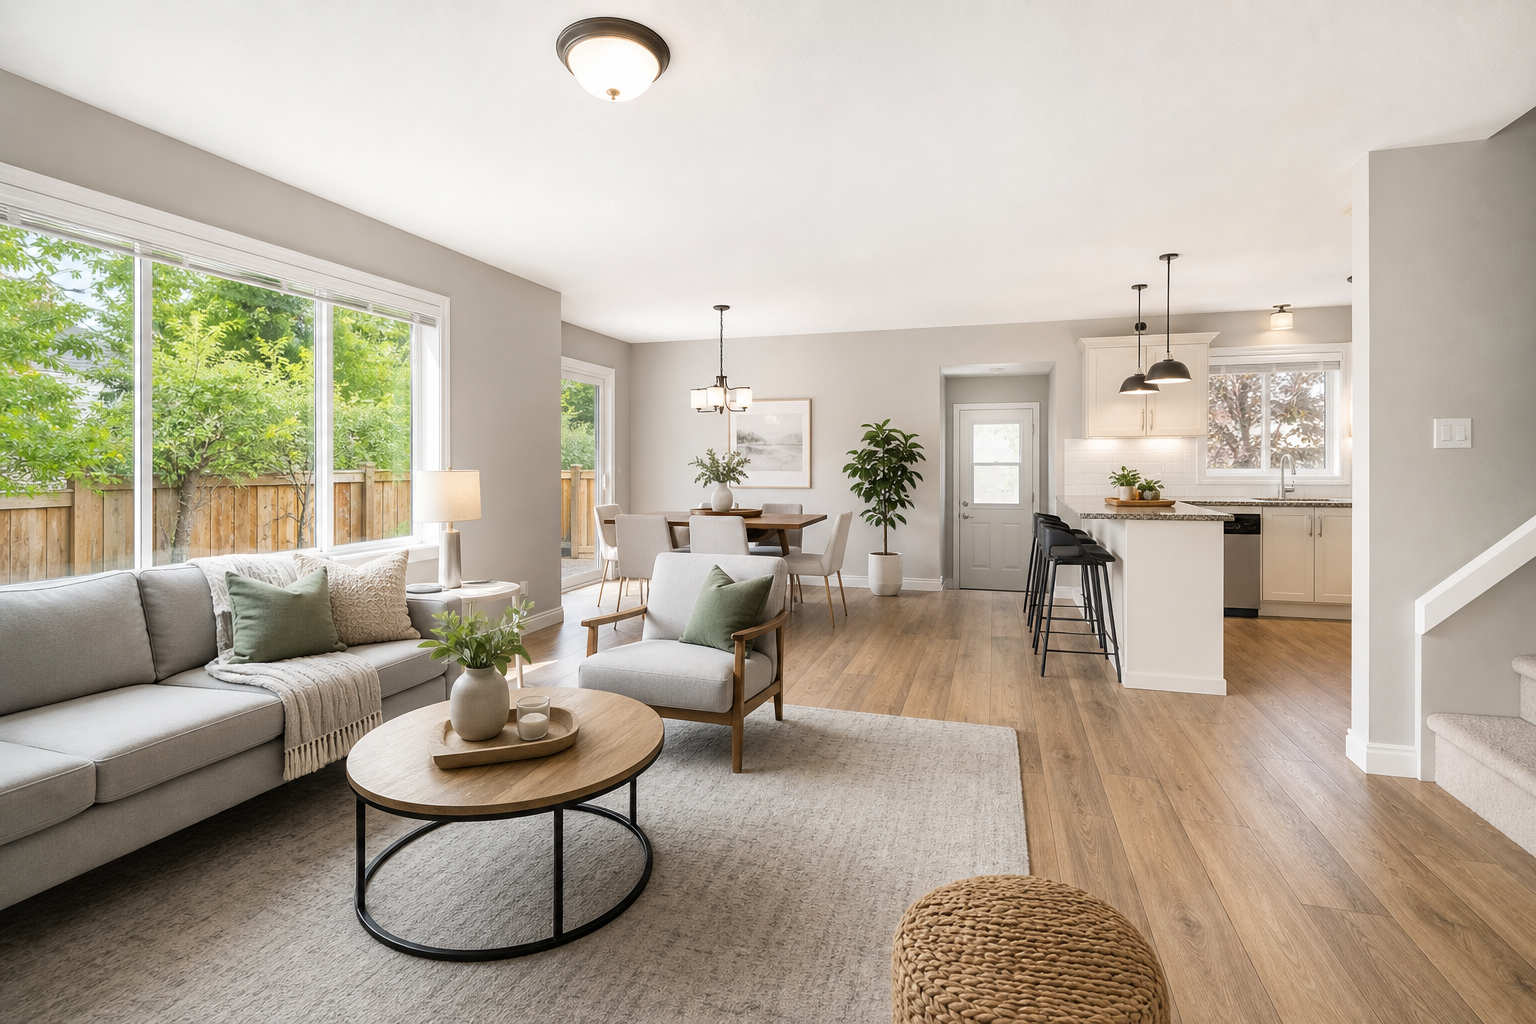
Bright, even lighting and clean finishes make rooms look larger and newer in photos. Replace burnt-out bulbs, choose higher-lumen bulbs where fixtures allow, swap heavy drapes for light sheers, and touch up scuffs with a neutral paint. Fix small, visible issues buyers notice during a walkthrough: tighten door handles, lubricate sticking windows, and repair visible chips or cracked tiles if they are concentrated in key viewing areas.
Small repairs and neutral touch-ups are often more cost-effective than larger renovations because the improvements are visible in online photos and during first visits. For a list of photo-visible fixes and staging lighting advice, consult trusted staging resources.
This Old House suggested repairs • Redfin lighting and finish tips
7. Decide: DIY, virtual staging or hire a professional stager
Choose staging method by matching time, budget and market goals. Use this qualitative decision guide:
- DIY staging: Good when you have time, a limited budget, and the home is in clean, sale-ready condition. Focus your efforts on the photo-first items above.
- Virtual staging: Effective for empty rooms or to illustrate a different furniture layout for marketing photos, but confirm MLS rules for virtual images in your listing and use realistic, tasteful visuals.
- Professional stager: Worth considering when the home needs substantial decluttering, the target buyer expects a higher presentation level, or you lack time. Professional staging can be combined with professional photography and sometimes includes rental furniture for vacant homes.
Authoritative Canadian staging guidance suggests weighing staging fees as part of your selling costs, so factor those expenses into any decision. Confirm local MLS and disclosure rules before using virtual staging.
Zolo on DIY vs pro staging • Wahi staging decisions • REW staging choices • Canada.ca seller costs
Fast, low-cost staging checklist you can complete in a weekend
- Declutter all countertops and store nonessential items.
- Deep clean visible surfaces, windows and mirrors.
- Replace burnt-out bulbs and open curtains for photos.
- Freshen linens and towels in kitchen and bathrooms.
- Quickly tidy front entry, sweep walkway and add two potted plants.
Pair staging with a local valuation and VIP alerts
Staging decisions are most effective when they align with your listing strategy and pricing. If you are preparing to sell in Surrey, pair staging with an up-to-date local market valuation so you set price expectations correctly. Woodhouse Realty provides a home valuation feature, What’s My Home Worth, and VIP email alerts to keep sellers and buyers first to know about listings. Use those tools to time staging and photography for optimal market exposure on MLS and local channels.
Woodhouse Realty valuation and VIP alerts
Frequently asked questions
How much should I expect to pay for staging when selling a home in Surrey
Staging costs vary by scope and method. Ask your REALTOR® for local estimates and a clear deliverable list before you commit so you can compare expected return on investment against other listing expenses. Official Canadian guidance lists staging-related fees among seller considerations.
Can I stage my condo or townhome myself and still get professional-quality listing photos
Yes. Focus on removing clutter, maximising light, and using scaled furniture or neutral accents to create clear sight lines. For tight spaces, careful camera angles and editing make a big difference. If the unit is empty, consider virtual staging for marketing photos while disclosing the images follow your local MLS rules.
What should I stage first if I have only one weekend to prepare the house
Start with a photo-first approach: tidy the entry and curb, clear the living room and main photo rooms, and make the kitchen and primary bathroom presentable for photos. Follow the weekend checklist above to prioritise high-visibility work that appears in listing images and first showings.
Does virtual staging work for empty rooms and is it allowed on MLS listings in BC
Virtual staging can effectively show furniture layouts for empty rooms, but rules for virtual images vary by MLS board and must not mislead buyers. Confirm local MLS guidelines and disclose when photos are virtually staged. Seek a REALTOR® experienced with Surrey MLS listings if you plan to use virtual staging.
Next step: To pair staging with an accurate Surrey valuation or to sign up for VIP listing alerts, contact Woodhouse Realty or request a valuation on the Woodhouse website.